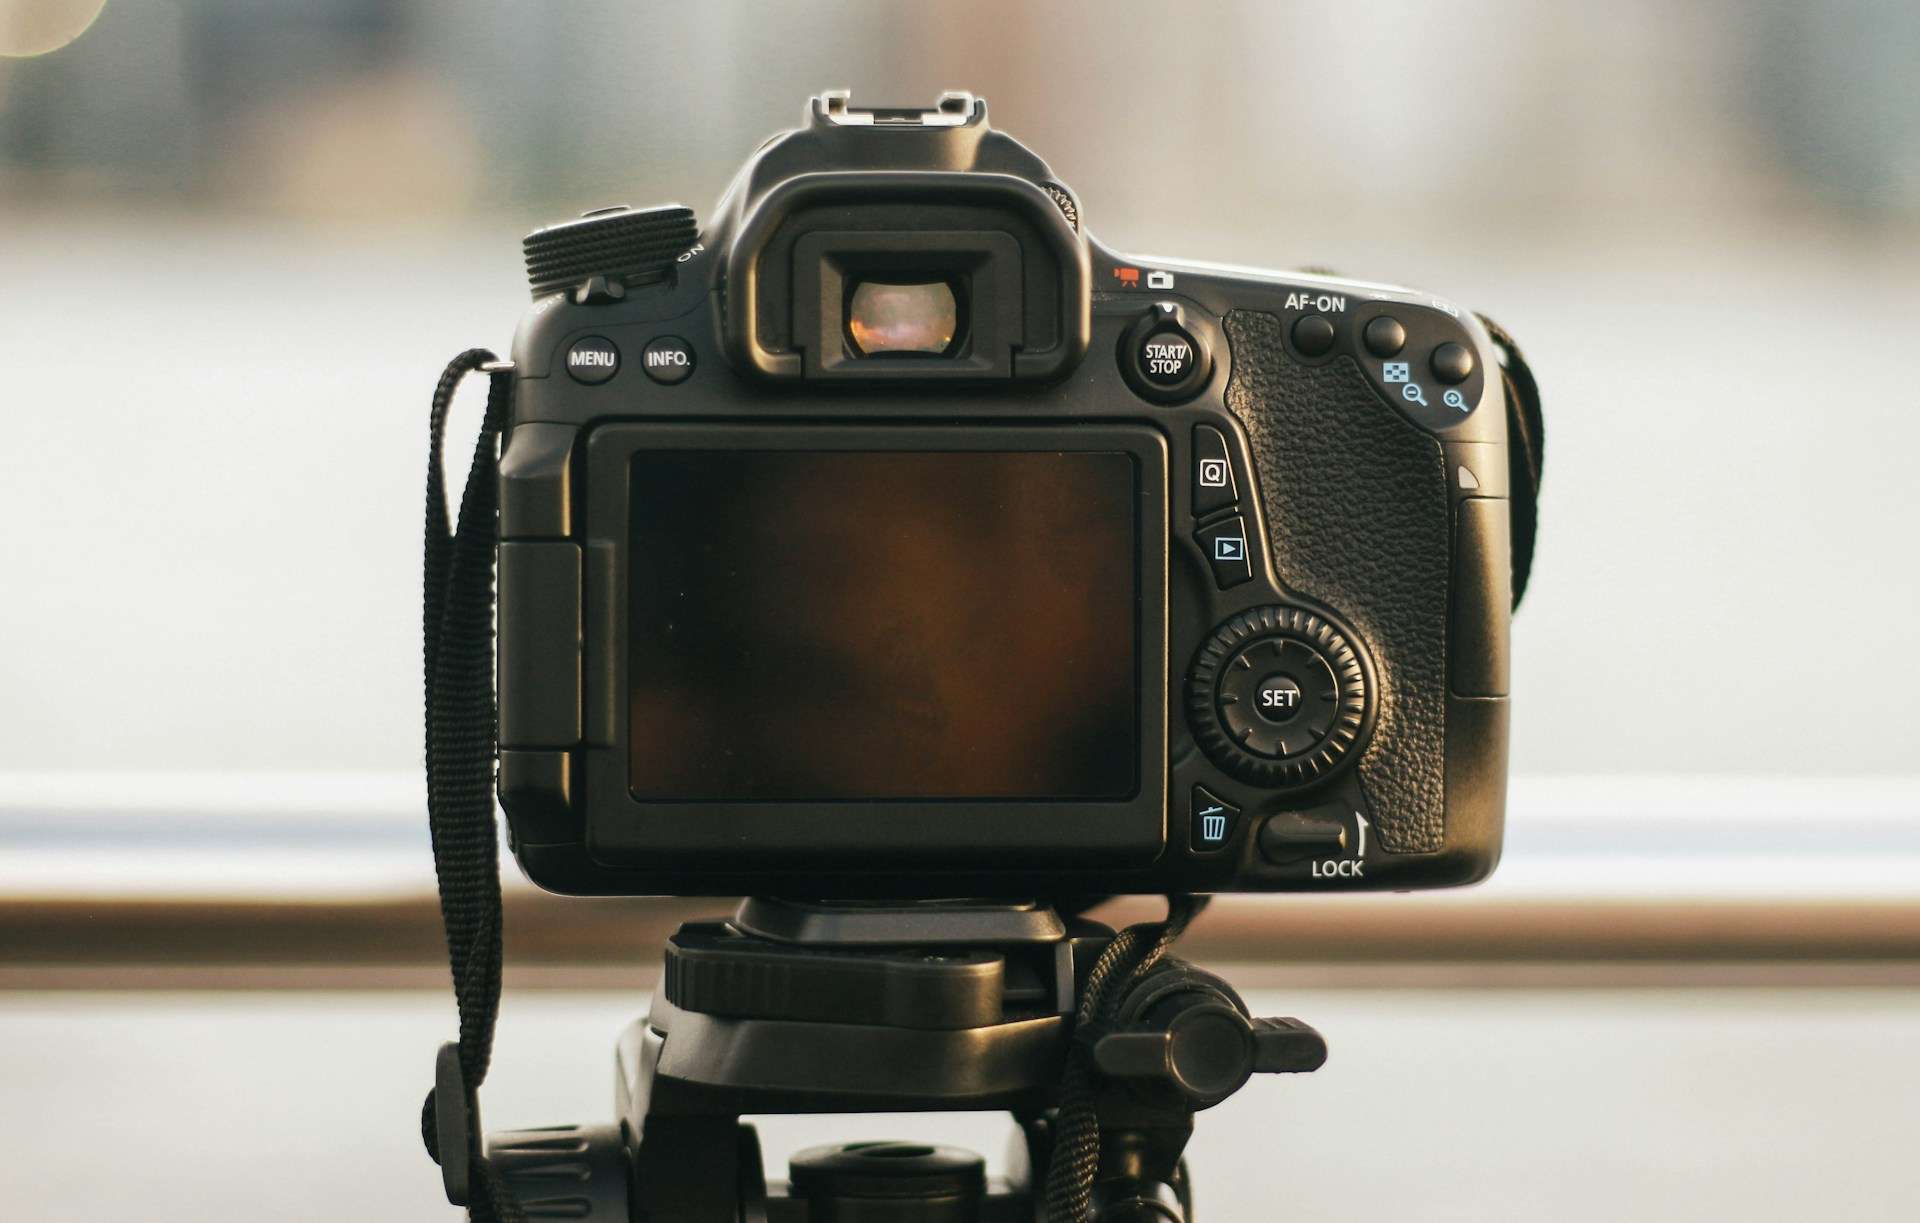
High Dynamic Range (HDR) photography is a technique that allows photographers to capture a broader range of luminosity levels in their images. In this comprehensive guide, we’ll delve into how to shoot HDR on a Nikon D500 effectively. This versatile camera offers advanced features and capabilities that make it well-suited for HDR photography, enabling photographers to produce stunning images with exceptional detail and dynamic range.
Contents
Getting Started with HDR on Your Nikon D500
1. Setting up Your Camera
Before embarking on your HDR journey with the Nikon D500, it’s crucial to configure your camera settings correctly. Begin by ensuring that your camera is set to capture images in the RAW file format. Shooting in RAW provides you with maximum flexibility during post-processing, allowing you to extract the most detail from your images.
Next, familiarize yourself with the exposure bracketing feature on the Nikon D500. This feature is essential for HDR photography as it allows you to capture multiple shots at varying exposure levels, which are later merged to create a single HDR image. Adjust the bracketing settings to capture exposures ranging from dark shadows to bright highlights, typically with increments of 2 to 3 stops.
2. Choosing the Right Scene
Selecting the appropriate scene is paramount when shooting HDR images. Look for scenes with high contrast, such as landscapes with intricate details in both shadowed areas and highlights. Urban environments, architectural structures, and interiors with varying light sources also provide excellent opportunities for creating compelling HDR compositions.
3. Composition and Framing
Crafting a compelling composition is essential for creating visually striking HDR photographs. Utilize compositional techniques such as the rule of thirds, leading lines, and framing to guide the viewer’s eye through the image. Experiment with different angles and perspectives to capture the scene in a unique and captivating way.
4. Adjusting Exposure Settings
Mastering exposure settings is crucial for achieving optimal results in HDR photography. Begin by selecting Aperture Priority mode on your Nikon D500 to control the depth of field. Choose a narrow aperture (high f-stop) to ensure that both foreground and background elements remain in sharp focus.
Adjust the ISO setting to the lowest native value to minimize digital noise in your images, ensuring maximum image quality. Lastly, set the shutter speed based on the desired level of motion blur in the scene, taking into account any moving subjects or elements.
5. Taking the Shots

Once your camera is properly configured, it’s time to capture your bracketed shots. Compose your scene, ensuring that all elements of interest are within the frame, and activate the exposure bracketing feature. Press the shutter button, and the Nikon D500 will automatically capture a series of images at varying exposure levels. Use a tripod to maintain stability and minimize camera shake, especially in low-light conditions.
Post-Processing HDR Images
1. Merging Bracketed Shots
After capturing your bracketed shots, it’s time to merge them into a single HDR image using post-processing software. Adobe Photoshop, Lightroom, and specialized HDR software such as Aurora HDR are popular choices for this task. Follow the software’s instructions for merging bracketed exposures into a seamless HDR composition.
2. Tone Mapping and Adjustment
Once your bracketed shots are merged, employ tone mapping techniques to reveal the full dynamic range of your HDR image. Adjust exposure, contrast, highlights, and shadows to achieve a balanced and natural-looking result. Exercise restraint when making adjustments to avoid over-processing and maintain visual authenticity.
3. Final Touches
Apply any final touches to your HDR image, such as sharpening, noise reduction, or selective color adjustments. Fine-tune the overall appearance of the image to ensure that it meets your creative vision and effectively communicates the mood and atmosphere of the scene.
Advanced Techniques for HDR Photography on Nikon D500
1. Bracketing Modes
Explore the different bracketing modes available on the Nikon D500 to customize your HDR shooting experience. Experiment with exposure bracketing, white balance bracketing, and focus bracketing to achieve the desired results in various shooting conditions.
2. Long Exposure HDR
Combine the power of HDR with long exposure techniques to capture stunning images of moving subjects, such as flowing water or moving clouds. Use neutral density filters to extend your exposure times and create dramatic effects in your HDR compositions.
3. HDR Panoramas
Take your HDR photography to the next level by creating panoramic images that encompass a wide field of view. Capture multiple bracketed shots across the scene, ensuring overlap between each frame, and merge them into a seamless HDR panorama using specialized software.
Conclusion
Mastering HDR photography on a Nikon D500 opens up a world of creative possibilities, allowing photographers to capture stunning images with unparalleled detail and dynamic range. By following the comprehensive guide on how to shoot HDR on a Nikon D500, photographers can elevate their craft and produce captivating imagery that resonates with viewers.
FAQs about How to Shoot HDR on a Nikon D500
1. What is HDR photography, and why is it beneficial?
HDR photography stands for High Dynamic Range photography, a technique used to capture a broader range of luminosity levels in a single image. It involves merging multiple exposures of the same scene, ranging from dark to bright, to retain detail in both shadowed and highlighted areas. HDR photography is beneficial because it allows photographers to overcome the limitations of conventional photography, particularly in high-contrast scenes, by producing images with enhanced detail, depth, and dynamic range.
2. How does exposure bracketing work, and why is it important for HDR photography?
Exposure bracketing is a camera feature that allows photographers to capture multiple shots of the same scene at different exposure levels. This technique involves taking several photographs, typically three to five, with varying exposure settings, including underexposed, correctly exposed, and overexposed images. Exposure bracketing is essential for HDR photography as it provides the necessary range of exposures to capture detail across the entire tonal spectrum, from shadows to highlights, ensuring optimal results when merging the images into an HDR composite.
3. Can I shoot HDR on a Nikon D500 handheld, or do I need a tripod?
While shooting HDR handheld is possible with the Nikon D500, using a tripod is highly recommended, especially in low-light conditions or when photographing scenes with slow shutter speeds. A tripod helps stabilize the camera, minimizing motion blur and ensuring precise alignment of bracketed exposures, resulting in sharper and more consistent HDR images. However, if shooting handheld is necessary, consider increasing the camera’s shutter speed to reduce the risk of motion blur, and use image stabilization features if available to help compensate for any camera shake.
4. What software do you recommend for merging and processing HDR images captured with a Nikon D500?
There are several software options available for merging and processing HDR images captured with a Nikon D500. Adobe Photoshop and Lightroom are popular choices among photographers due to their comprehensive editing tools and seamless integration with RAW files. Additionally, specialized HDR software such as Aurora HDR offers advanced tone mapping algorithms and presets specifically designed for creating stunning HDR compositions. Ultimately, the best software for you will depend on your workflow preferences and editing requirements.
5. Are there any specific tips for achieving natural-looking HDR images with a Nikon D500?
To achieve natural-looking HDR images with a Nikon D500, consider the following tips:
- Use a wide aperture: Opt for a narrow aperture (higher f-stop) to maximize depth of field and ensure sharpness throughout the frame.
- Avoid over-processing: Exercise restraint when applying tone mapping and adjustments to maintain the integrity of the scene and prevent the image from appearing artificially enhanced.
- Experiment with white balance: Adjust the white balance settings to accurately reproduce colors and tones, ensuring a realistic representation of the scene.
- Blend exposures selectively: Blend bracketed exposures selectively to preserve detail in both shadows and highlights while maintaining a balanced and natural appearance.
- Refine composition: Pay attention to composition and framing, utilizing leading lines, symmetry, and visual elements to create engaging and compelling HDR compositions that resonate with viewers.
By following these tips and techniques, you can create HDR images with your Nikon D500 that are not only technically impressive but also visually striking and true to life.
Read Now: Nikon F60 and Nikon D610 Review


