Nikon cameras are renowned for their exceptional quality and versatility, catering to both amateur enthusiasts and seasoned professionals alike. One of the many features that elevate Nikon cameras is how to set a timer on a Nikon camera, allowing users to capture the perfect shot with precision timing. In this comprehensive guide, we’ll delve into the intricacies of setting a timer on your Nikon camera, empowering you to unleash its full potential.
Contents
Understanding Timer Options
Before diving into the specifics of setting a timer on your Nikon camera, it’s essential to understand the various timer options available. Nikon cameras typically offer multiple timer modes, each serving a distinct purpose to cater to diverse shooting scenarios.
Self-Timer Mode
The self-timer mode is ideal for capturing self-portraits or group shots without the need for a remote trigger. By activating the self-timer, you can set a delay before the camera automatically takes the shot, giving you ample time to compose the frame and join the scene.
Interval Timer Mode
For time-lapse photography or capturing sequences of events over an extended period, the interval timer mode is indispensable. This feature allows you to specify intervals between shots, enabling you to create captivating time-lapse videos or document gradual changes over time.
Exposure Delay Mode
In situations where camera shake might compromise image sharpness, such as when using long exposure or telephoto lenses, the exposure delay mode proves invaluable. By introducing a brief delay between mirror-up and shutter release, this mode minimizes vibrations, ensuring crisp, blur-free images.
Step-by-Step Guide to How to Set a Timer on a Nikon Camera
Now that you’re familiar with the different timer modes, let’s walk through the process of setting a timer on your Nikon camera step by step:
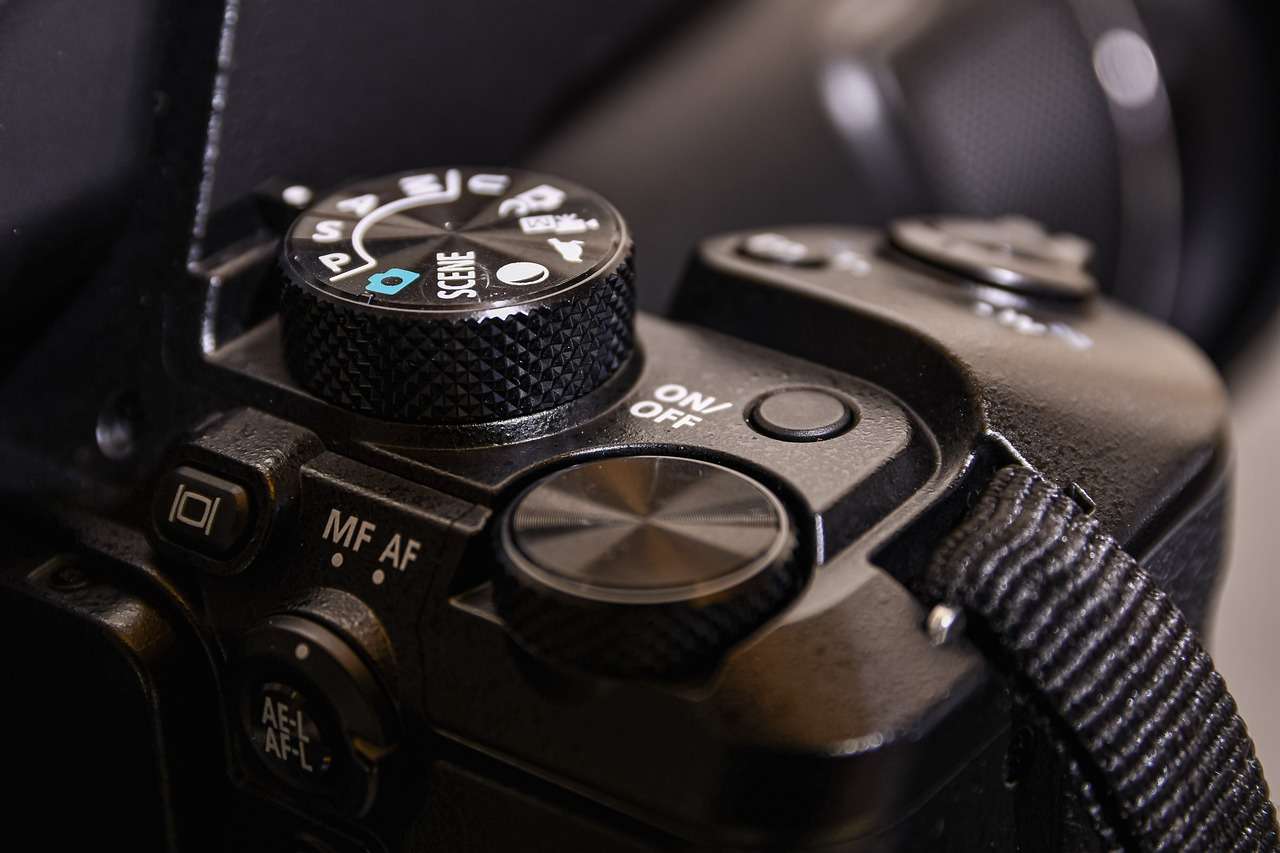
1. Accessing the Menu
Begin by turning on your Nikon camera and accessing the menu button. Depending on the model of your camera, the menu button may be labeled differently, but it’s typically represented by an icon resembling a series of stacked lines or squares.
2. Navigating to the Timer Settings
Within the menu interface, navigate to the “Shooting Menu” or “Custom Settings Menu” section, where you’ll find a submenu dedicated to timer settings. Scroll through the options until you locate the timer settings submenu.
3. Selecting the Timer Mode
Once you’ve accessed the timer settings submenu, you’ll be presented with a list of timer modes, including self-timer, interval timer, and exposure delay. Select the desired timer mode based on your shooting requirements by highlighting it and pressing the “OK” or “Enter” button.
4. Adjusting Timer Parameters
After selecting the timer mode, you’ll have the option to adjust specific parameters such as delay duration, interval length, or exposure delay time. Use the camera’s directional buttons or touchscreen interface to input your preferred settings, taking into account factors such as composition, lighting conditions, and desired outcome.
5. Activating the Timer
Once you’ve configured the timer settings to your satisfaction, exit the menu interface and return to the camera’s live view or viewfinder display. Depending on your camera model, you may need to press a dedicated timer button or activate the timer through the on-screen display.
6. Capturing the Shot
With the timer activated, compose your shot, ensuring that your subject is properly framed and in focus. Once everything is set, trigger the timer mechanism either by pressing the shutter button or using a remote trigger, if applicable. The camera will then initiate the countdown or interval sequence as configured, culminating in the capture of your desired image or sequence.
Read Now: Nikon F100 Lenses and Nikon F100
Tips for Optimizing Timer Usage
Now that you’ve mastered the basics of setting a timer on your Nikon camera, here are some additional tips to optimize your timer usage and elevate your photography skills:
Experiment with Different Timer Modes
Don’t limit yourself to just one-timer mode. Experiment with each mode—self-timer, interval timer, and exposure delay—to discover their unique capabilities and how they can enhance your photography.
Incorporate Timer Techniques into Creative Projects
Challenge yourself to incorporate timer techniques into creative projects such as time-lapse videos, long-exposure photography, or self-portrait series. Embrace experimentation and push the boundaries of your creativity.
Practice Timing and Patience
Setting a timer requires precision timing and patience. Practice using the timer function in various shooting scenarios to develop a keen sense of timing and refine your ability to anticipate the perfect moment.
Utilize Remote Trigger Accessories
Invest in remote trigger accessories compatible with your Nikon camera to expand your timer capabilities. Remote triggers allow you to trigger the timer remotely, giving you greater flexibility and control over your shots, especially in challenging environments or when working with subjects at a distance.
Conclusion
Congratulations! You’ve now mastered the art of setting a timer on your Nikon camera like a seasoned professional. Whether you’re capturing breathtaking landscapes, documenting special moments with loved ones, or experimenting with creative photography techniques, the timer function opens up a world of possibilities for creative expression. By understanding the various timer modes, following our step-by-step guide, and incorporating advanced optimization tips, you can confidently harness the full potential of your Nikon camera and elevate your photography to new heights.
FAQs
- How do I access the timer function on my Nikon camera?
- To access the timer function on your Nikon camera, navigate to the menu interface and locate the “Shooting Menu” or “Custom Settings Menu” section. From there, you can select the timer settings submenu to access various timer modes.
- What are the different timer modes available on Nikon cameras?
- Nikon cameras typically offer three main timer modes: self-timer mode, interval timer mode, and exposure delay mode. Each mode serves a distinct purpose and is designed to cater to different shooting scenarios.
- Can I customize the timer settings on my Nikon camera?
- Yes, you can customize the timer settings on your Nikon camera to suit your specific shooting requirements. Depending on the model of your camera, you can adjust parameters such as delay duration, interval length, and exposure delay time to achieve the desired outcome.
- How can I use the timer function for creative photography projects?
- The timer function on Nikon cameras can be used for a variety of creative photography projects, including self-portraits, time-lapse videos, and long-exposure shots. By experimenting with different timer modes and techniques, you can unleash your creativity and capture stunning images.
- Do I need any additional accessories to use the timer function on my Nikon camera?
- While Nikon cameras come equipped with built-in timer functionality, you may choose to invest in remote trigger accessories for added convenience and flexibility. Remote triggers allow you to trigger the timer remotely, making it easier to capture shots from a distance or in challenging environments.
Read Now: How to Record on a Nikon Camera and Nikon FG Lenses